Wallet APIs
The Wallet API allows developers to interact with blockchain networks and offer wallet functionality to their users without having to build everything from scratch. This can include features like account creation, transaction management, balance inquiries, and more.
Key features that the Wallet API provides include:
| Features | Description |
|---|---|
| Wallet Management | Developers can use the API to create, manage, and secure wallets for their users. |
| Transaction Services | The API can enable the initiation and monitoring of blockchain transactions. |
To get started, you need an API key, which serves as your access token to Alpha Engine's APIs.
What we cover in this guide
In this guide we will explain how to creating your first wallet and performing a basic transaction. We will walk you through several endpoints to help you get started, we will cover the following topics:
- How to create a wallet
- How to top up your wallet
- Check your wallet balance
- Estimate Gas Fee
- Transfer funds to another wallet
Prerequisites:
You need an API key, which serves as your access token to Alpha Engine's APIs.
1. Creating a Wallet
Let's begin by creating a wallet. Since you are currently using the API calls in a sandbox environment, the wallets will be created on a testnet chain. In this example, we will create our first wallet on the Polygon (MATIC) Blockchain.
Request Endpoint:
1POST {{BASE_URL}}/wallets
Request Body:
| Parameter | Description | Type | Required |
|---|---|---|---|
| description | Anything that's useful to identify the wallet use-case | String | |
| identifier | This is used to retrive the wallet in the listing | String | YES |
| pin | Serves as the password to access your wallet. Please remember it and keep it secure to ensure the protection of your wallet and its contents. | String | YES |
Example:
1{
2    "description": "Alphatrent Wallet",
3    "identifier": "unique_key",
4    "pin": "3241"
5}
After creating your wallet, save the id and address, we will use it later in the guide.
2. How to top up your wallet
Now we will add testnet tokens to your first wallet. Testnet tokens are necessary for conducting experiments, testing applications, and simulating transactions on a blockchain network without using real or valuable cryptocurrencies.
- Copy the address of your wallet.
- Go to the Polygon Faucet by clicking here.
- Paste the address of your wallet (e.g : 0xfd551037D6eF400B8F01Dffc9858D5dD98899D86)
- Click Send me MATIC
- Testnet MATIC tokens will be sent to your wallet
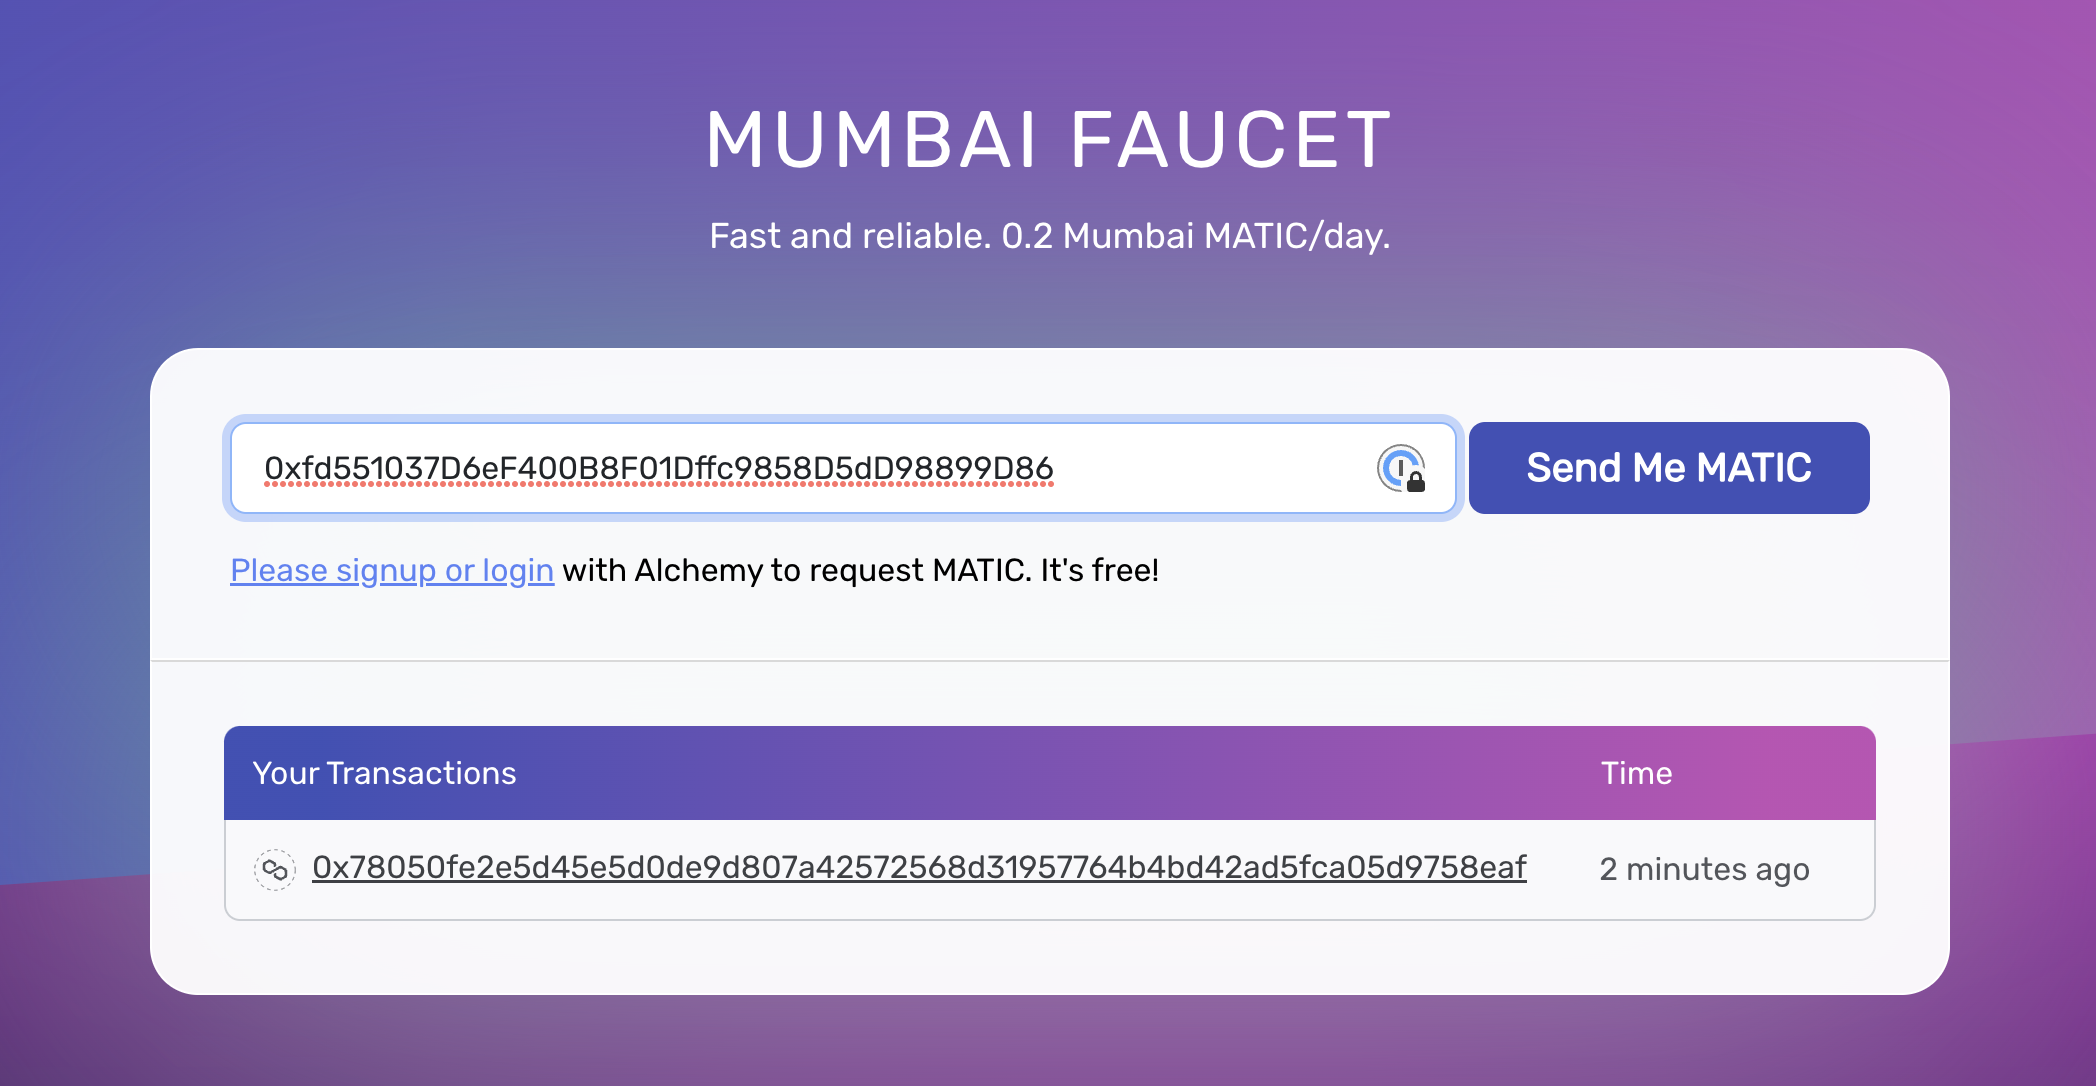 Figure: Mumbai Faucet
3. Check Wallet Balance
Now let's check the balance of your wallet.
To check the balance of your wallet, use the following endpoint. Enter the id (walletId) of your wallet and execute the request. This will provide you with the current balance information.
Request Endpoint:
1GET {{BASE_URL}}/wallets/{{wallet}}/balance
Response:
1{
2    "success": true,
3    "responseStatus": "OK",
4    "message": "Request processed successfully.",
5    "data": {
6        "address": "0xfd551037D6eF400B8F01Dffc9858D5dD98899D86",
7        "balances": [
8            {
9                "chain": "polygon",
10                "balance": 0
11            }
12        ]
13    }
14}
4. Estimate Gas Fee
The following endpoint will estimate the gas fee that is required to inititate the transfer of funds from your wallet to another wallet address based on the current gas required to pass the transaction on the blockchain.
Request Endpoint:
1GET {{BASE_URL}}/wallets/estimate-gas-fee
Response:
1{
2    "success": true,
3    "responseStatus": "OK",
4    "message": "Request processed successfully.",
5    "data": {
6        "gas_price": "1.8",
7        "unit": "Gwei"
8    }
9}
5. Transfer funds to another wallet
At this point, you should have the wallet containing some funds, while the second wallet remains empty. We will run another endpoint where we will transfer some funds from the wallet to the second wallet. Use the following endpoint to initiate a transfer:
Request Endpoint:
1POST {{BASE_URL}}/wallets/{{wallet}}/transfer-token
Request Body:
| Parameter | Description | Type | Required |
|---|---|---|---|
| address | The address of the destination wallet where the funds will be transferred to. | String | YES |
| amount | The amount mentioned here refers to the quantity of coins that you intend to transfer | String | YES |
| pin | Serves as the password to access your wallet | String | YES |
Example:
1{
2    "address": "0xfd551037D6eF400B8F01Dffc9858D5dD98899D86",
3    "amount": 0.01,
4    "pin": "3241"
5}
WHAT’S NEXT
Now that you've successfully finished basic operations such as creating wallets and transferring native tokens it is time to check out the rest of our guides for more advanced use cases.